It took me a while to complete this deck project, time, money and weather all played a part in this build.
Below is the
before picture, the deck had stairs and 2x4 railings.
 |
| Before |
I had ordered a custom 24 x 1 cedar fascia board and the sides as well, mounted it and my posts and it curled and split on me. So I had to scrap that idea and start over.
I removed the new trim board, the old fascia and header board and installed a new 2" rough cedar board on the front and sides. The deck had a bit of rot, which I had fixed but decided since I was starting over to rip out everything This deck had three layers of plywood that needed to be removed, the last layer was tucked inside the house and part of the original floor, so I had to leave it and add a new layer. I wanted my rough 6x6 posts mounted within the deck so after all the new deck was glued and screwed I cut out my post holes, shimmed them level and plumb, and used 8" Timber LOK screws to mount the posts, they look good, no pre-drilling and super strong. I also used Simpson ties underneath. Try as you might, my posts are not moving even a mm.
Next I installed flashing and prepped the deck for waterproofing.
If I went with vinyl, it would have to wrap around my flashing and I really wanted my flashing to show, so I searched for a good roll on product and found
Tufflex, it is a urethane coating, thick and strong. Fairly expensive product, but I think worth it in the end. The finish is not perfect though, I also had so many bugs landing in it that made it even worse. It is a self leveling product and you use a small notch trowel to spread it on. Once you are used to it, it is pretty easy to work with. I was unhappy with my base coat, so I did a second coat, then two top coats. It is messy and impossible to clean up on tools and anything you touch with it. This whole process took me a while, I had crazy weather to deal with and had to wait for the right time to do this waterproofing.
Finally I can move on to some carpentry, I made bases for each post, using glue and 1" staples. I made them fit just right and left them free floating so as not to trap water and with effort can raise them up a bit, if I ever do a fresh top coat.
Using rough cedar 2x4's I mounted my lower and up rails using trim head screws by GRK. They are strong and hide very well. I used two screws on the outside and one on the inside of each rail.
I mounted my rough cedar 2x6 top rail using the same GRK screws toe-nailed underneath and in the middle of each long section I used a skinny 5" screw bolt just to help the board stays in place.
Next is the balusters, I wanted a large sweep space so I used a normal 2x4 for spacing of my lower rail, my balusters are 40" so the layout is simple from there. My baluster spacing worked out so well for each section I can't even believe it, where the space at the end is pretty close to the 4" spacing used for each baluster. Code is 100mm, which is a hair under 4".
The easiest way to install these is mark the middle of the rail, clamp your 4" block to the middle of the rail middle and mount your baluster on either side, then use your block and continue to the ends. Plumb of course.
Most 6x6 posts are really 5-1/2", my posts are real 6x6 cedar, so I had to search and find oversize postcaps. Your choices are very limited with this size, but I found some nice copper caps.
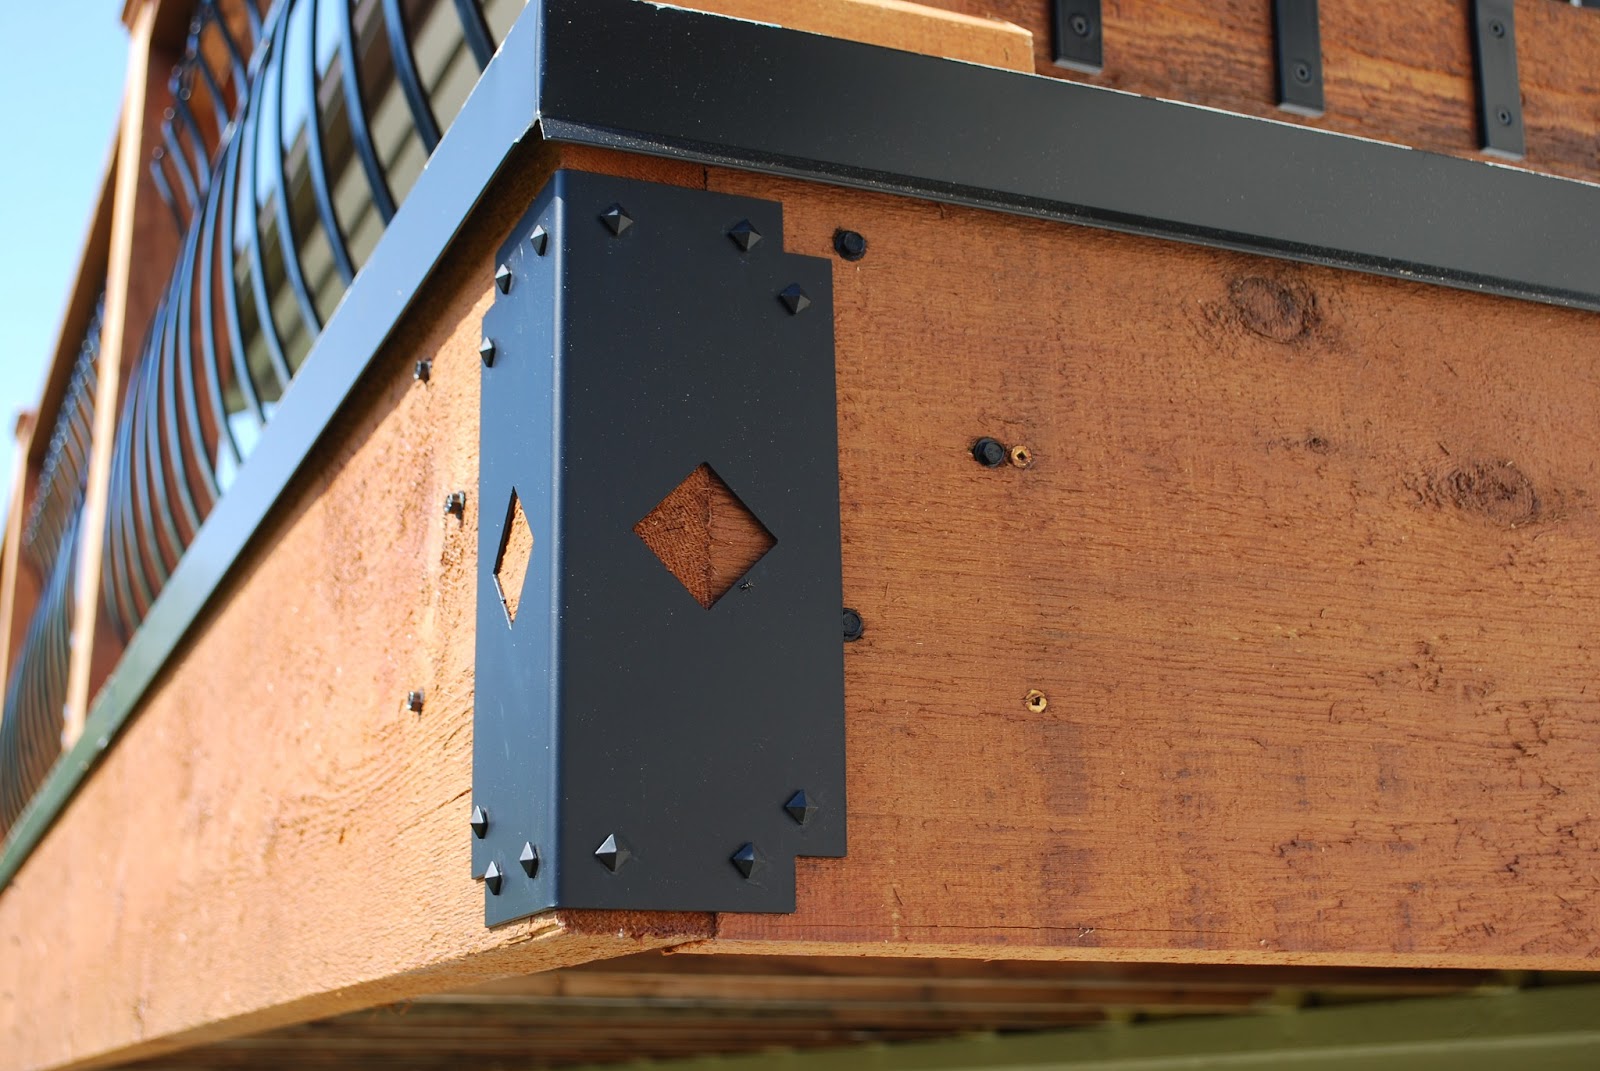
I wanted a little extra detail so I had some metal brackets made up locally, I used diamond head screws to mount them which I had to order from the states as I could not find any here.
I used Behr Cedar Natrual Tone Transparent Stain on this deck. Next up will be the ceiling and a few other minor details.